Hardik Jaiswal
Kolkata, India hardikk.jaiswal@gmail.com GitHub
Built an MNIST Classifier with 0% Expertise (And It Works!)
by Hardik Jaiswal

Introduction
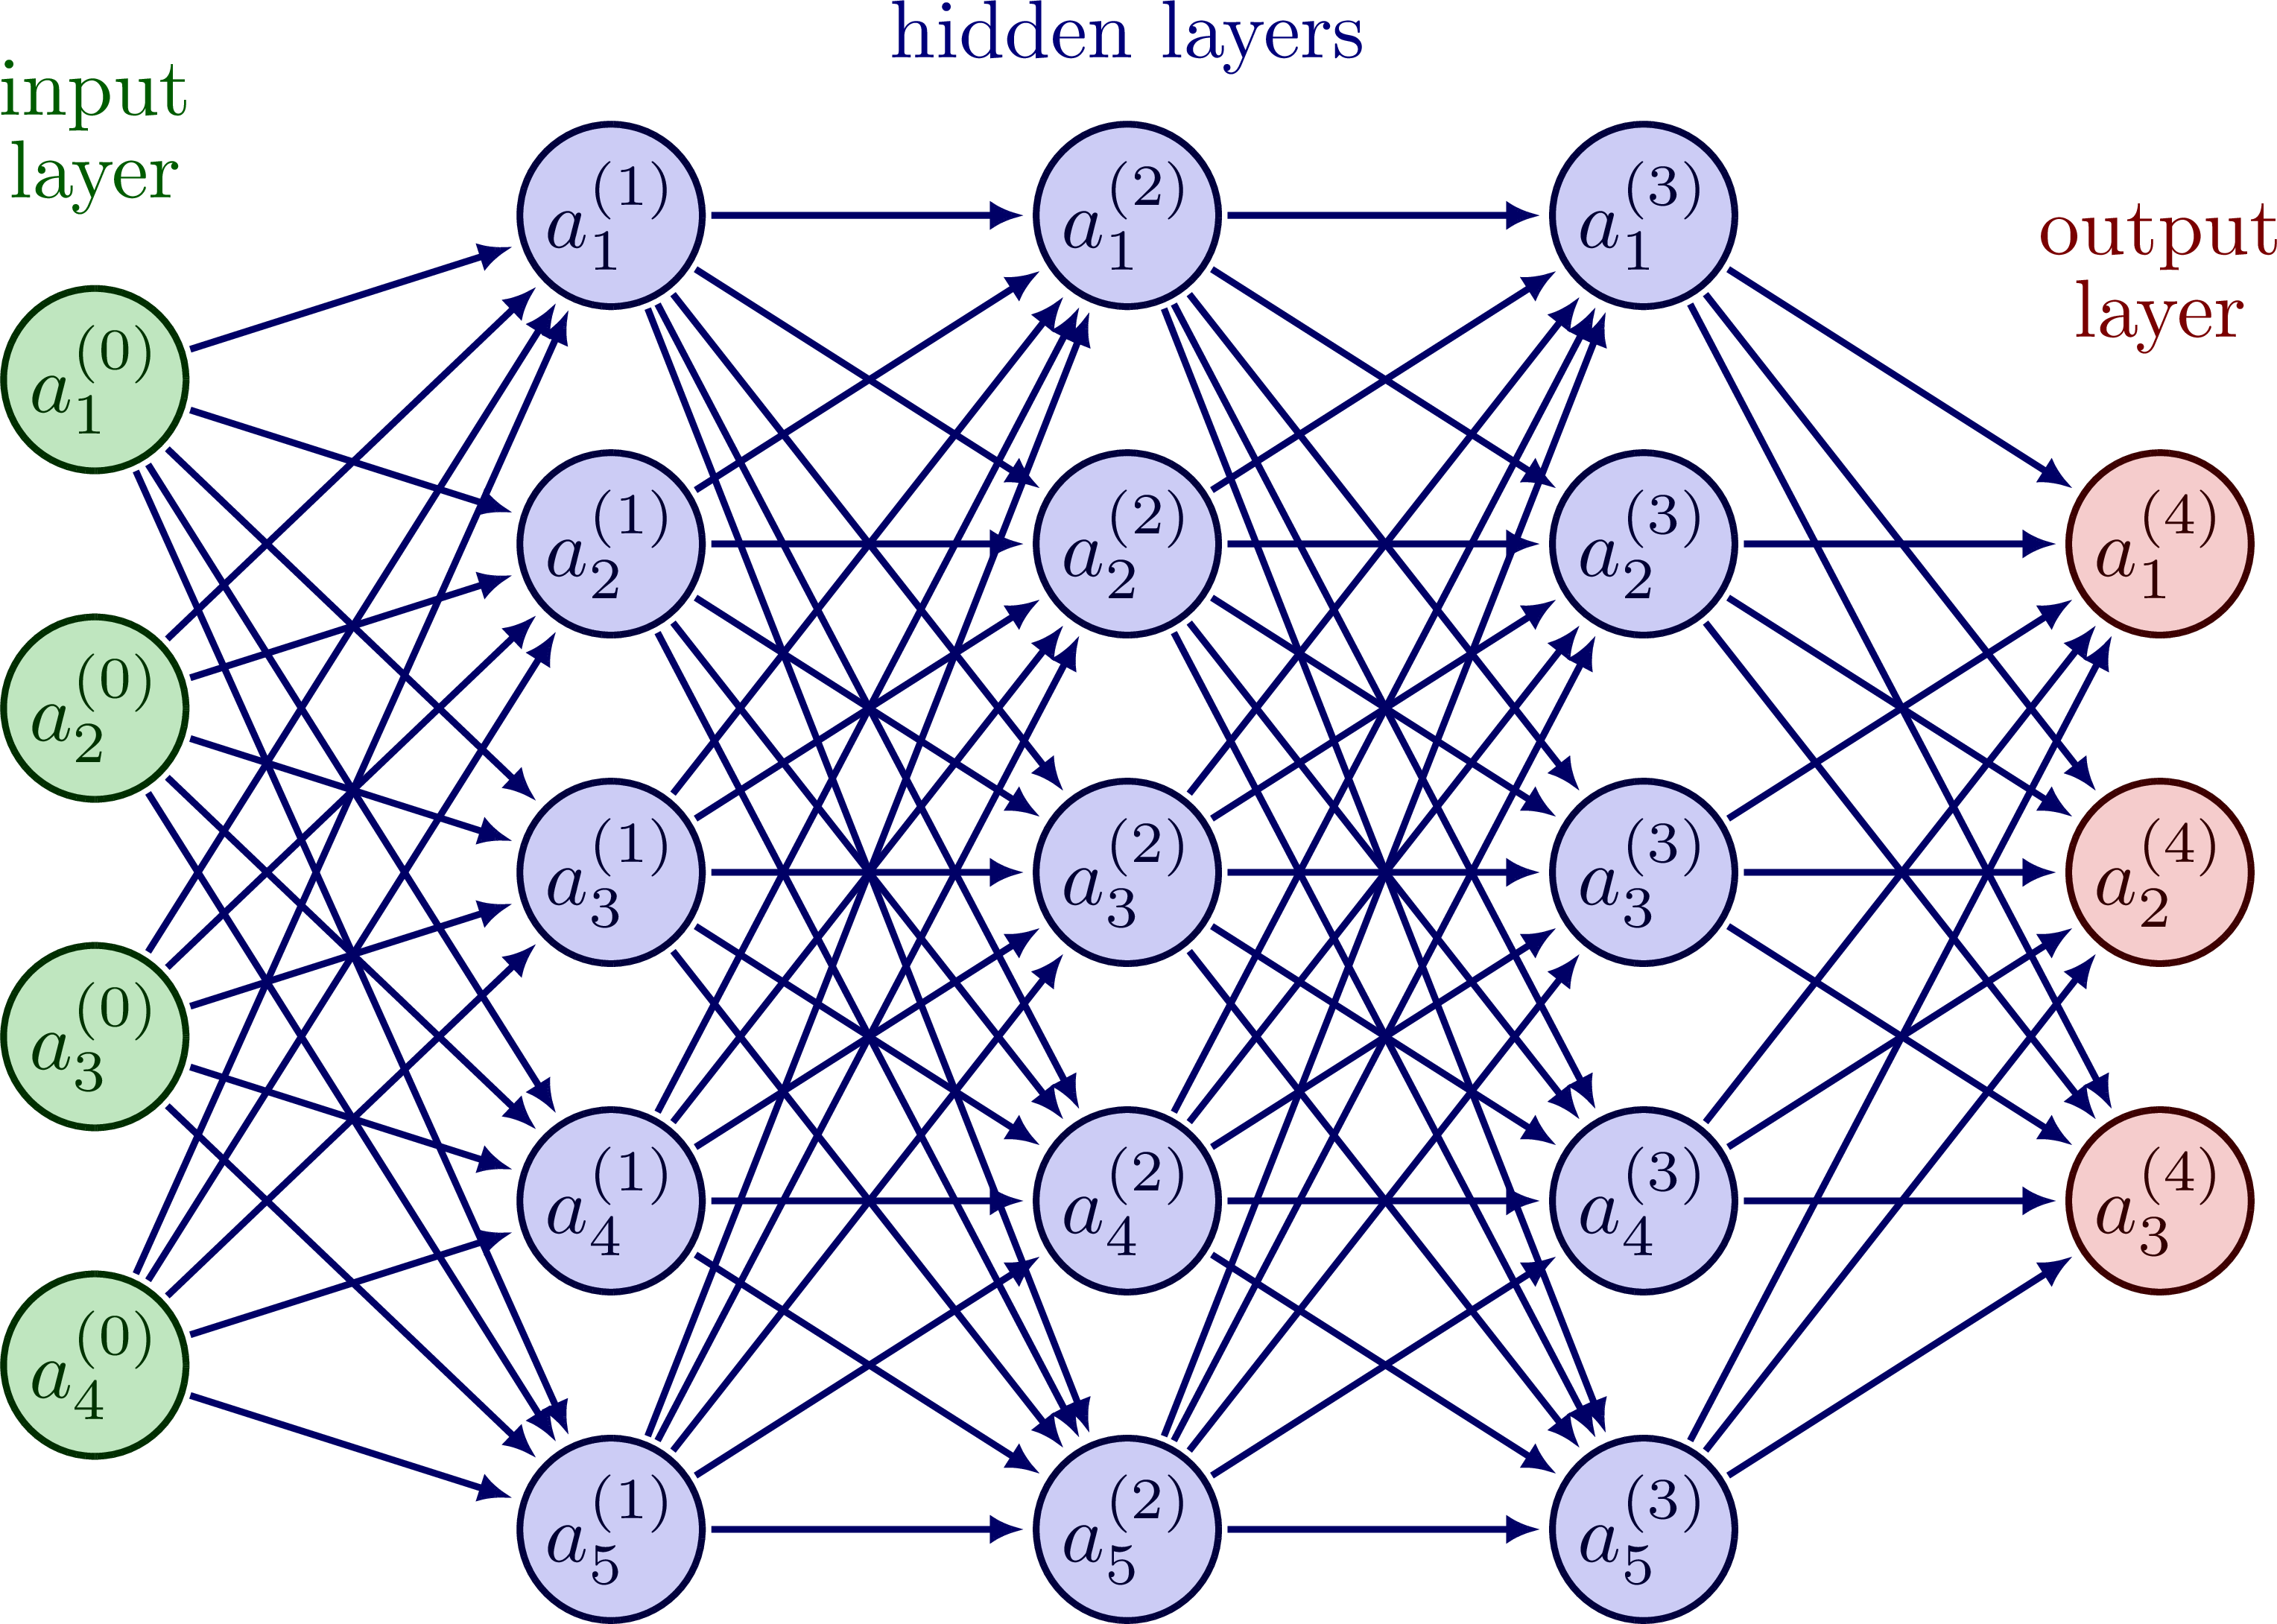
So, I just learned Numpy. Most people would start with basic matrix operations, maybe some array slicing, but nah—where’s the fun in that? Instead, I thought, why not just go all in and build a Neural Network to classify MNIST digits? Seemed like a solid plan at the time… until reality hit me.
The Initial Hype (aka Overconfidence Phase)
I fired up Kaggle, loaded up MNIST, and started coding. The initial steps felt easy:
- Load data
- Initialize weights
- Write a forward pass
- Pretend I understand backpropagation (just kidding, I actually had to go watch a YouTube video for that one)
Then, it was time to train.
W1, b1, W2, b2 = gradient_descent(X_train, Y_train, 7000, 0.001)
This should work fine, right? RIGHT?
Debugging Hell (aka “Why Is Nothing Working?”)
First issue: IndexError. Apparently, my dataset had an unexpected shape, and trying to access Y_train[index] was throwing index out of bounds. Classic.
IndexError: index 1 is out of bounds for axis 0 with size 1
Me, at this point: “WHY???”
Turns out, I was treating Y_train as a simple 1D array when it was actually a 2D array. Rookie mistake.
After fixing that, I ran training again. The first few iterations looked promising:
Iteration 0 - Loss: 13.8929, Accuracy: 0.0800
Iteration 100 - Loss: 12.3418, Accuracy: 0.0835
...
Iteration 3000 - Loss: 13.2125, Accuracy: 0.4760
Wait a minute… shouldn’t the loss decrease? Why was it increasing at some points? Well, turns out my learning rate was too low, and I wasn’t normalizing my data properly. Sigh.
The Struggles Were REAL (aka “Me vs. My GPU”)
At first, I was running everything on Kaggle, but I wanted to shift to Jupyter Notebook. Little did I know, training a neural network actually demands GPU and CPU resources.
I genuinely started questioning whether my laptop was about to take off.
Even though my model was running okay, I wondered if I could package this thing into something reusable. Turns out, yes, I could! But that’s a story for another day.
Finally, Some Success! (aka “Tuning Like a Madman”)
After some tweaking:
learning_rate = 0.01
iterations = 10000
W1, b1, W2, b2 = gradient_descent(X_train, Y_train, iterations, learning_rate)
And BOOM:
Iteration 9900 - Loss: 38.6941, Accuracy: 0.9086
91% accuracy! LET’S GOOO!
How It Can Be Improved
Alright, so while 91% accuracy is pretty solid, we can definitely push this further. Here’s what I learned:
- Lower Loss = Higher Accuracy (Usually) – But after a certain point, reducing loss doesn’t necessarily mean better generalization. Overfitting can sneak in!
- Better Optimization Algorithms – Adam optimizer or RMSprop could potentially speed up convergence compared to plain vanilla gradient descent.
- More Layers, More Neurons? – A deeper network might improve performance, but also adds complexity and training time.
- Data Augmentation – If I introduce rotated, scaled, or noisy versions of digits, the model might generalize better.
- Regularization (L2, Dropout, etc.) – Helps prevent overfitting, which might happen at high iteration counts.
For now, I’m happy, but there’s always room for improvement.
Lessons Learned
-
Start simple but stay curious – Jumping straight into deep learning was wild, but it helped me connect the dots faster.
-
Mathematics is the backbone – Understanding matrix operations, activation functions, and gradient descent made debugging much easier.
-
Debugging is 80% of ML – Expect to run into shape mismatches, index errors, and weird accuracy/loss trends.
-
Hyperparameters matter A LOT – A tiny change in learning rate or batch size can be the difference between success and total failure.
-
Normalization is key – Not normalizing input data led to unstable gradients and slowed down training.
-
Activation functions play a huge role – I initially tried without activation functions and got garbage results. ReLU and softmax made all the difference.
-
Stack Overflow & YouTube are lifesavers – No shame in learning from others!
-
Iteration counts aren’t everything – More iterations don’t always mean better results. Sometimes, tuning the model architecture is more effective.
-
Loss percentages can be misleading – High loss at the start is normal, but if it doesn’t drop after tuning, something’s definitely wrong.
The Next Steps
Now that I have this running, I’m moving everything to Jupyter and packaging it for easy use. Maybe I’ll even deploy it somewhere. Who knows?
Also, writing this blog post because I need to document this rollercoaster of a journey.
Till next time, happy coding!
tags: NumPy - Jupyter - Python - Neural Networks